To get started...
Branches
The concept of branches in Git makes it possible to maintain a stable version of an application or project alongside other versions under development. All modifications are therefore made on branches other than the main branch and later merged into that branch.
This concept will be covered in more detail in the cross-disciplinary project (SAÉ 1256). In this course, you will maintain a single branch (the main branch) for your individual work.
The default main branch name on the Git version used at the IUT is master, but modern versions tend to adopt the name main. To avoid confusion, we will change the name of the main branch to main.
Check the name of your current branch (the main branch) using the following command.
git branchIf your branch is called
master, run the following command to change it tomain.
git branch -m mainYou can change Git’s global configuration on your machine to always use
mainas the default branch when runninggit initwith the following command.
git config --global init.defaultBranch mainRemote and team-based version control
Examples of remote and team-based work
You worked in class with Git and want to continue working at home on the same project, or you are working in a team and all members want to use the same version history of the shared project.
If only there were a server that uses Git and can store your Local Repo online...
Getting started with GitLab
As a student at the IUT of Orsay, you already have an account on the IUT GitLab.
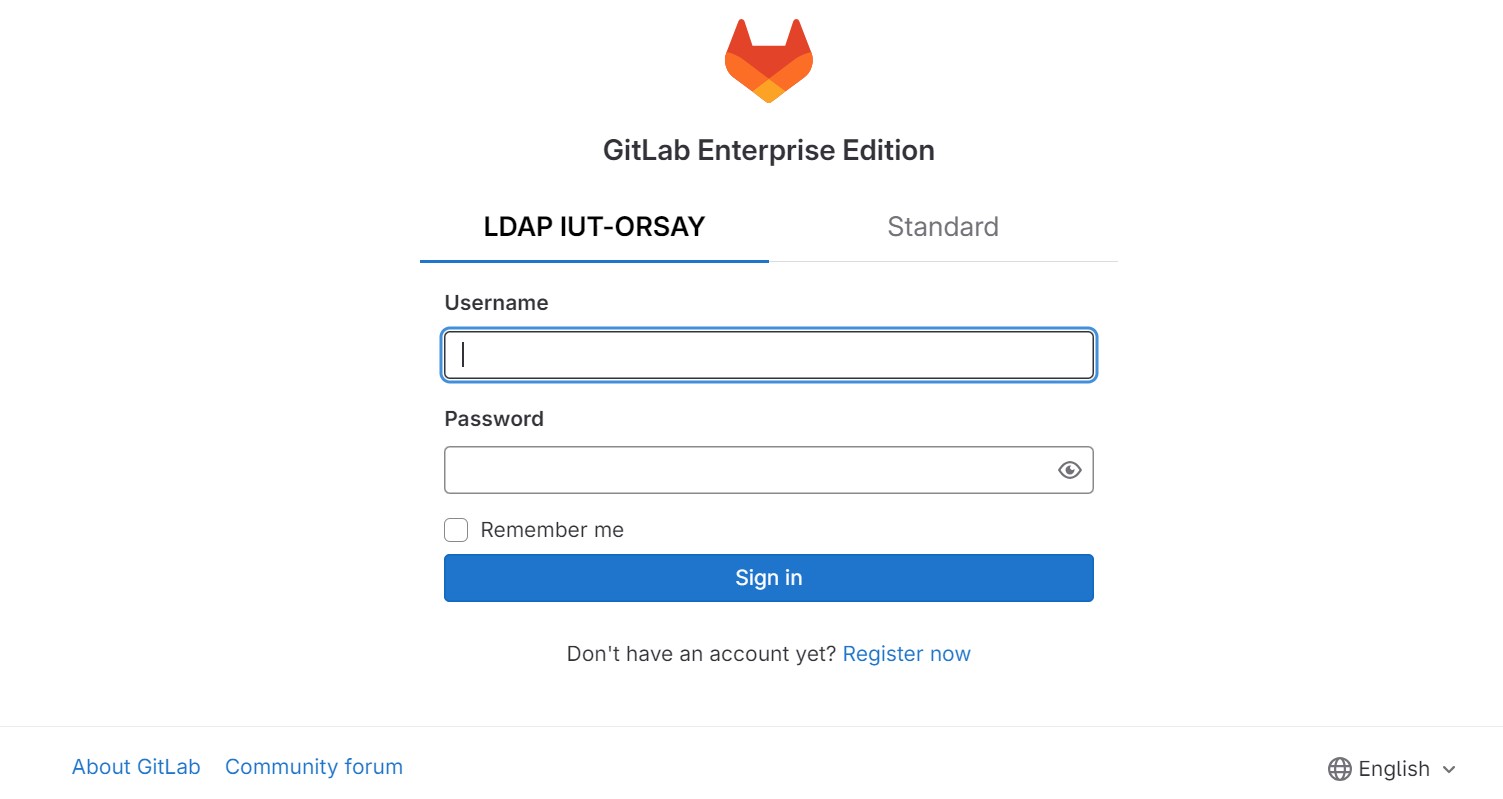
To log in, use your short username and your department password.
Personal Access Token
To establish a secure connection between your machine and the IUT GitLab server, we will use a Personal Access Token (PAT), which replaces the old password-based system.
To create a PAT:
Go to your profile by clicking on your avatar (top left), then Edit profile.
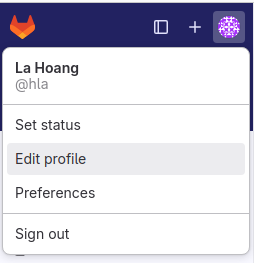
In the left menu, click on Access Tokens.
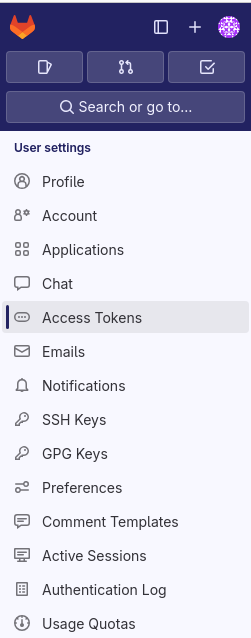
Add a new token by clicking on Add new token.

Give the token a name that reflects the workstation being used (for example,
IUTOrsayif you are working on an IUT workstation).
Set an expiration date of one year (the maximum allowed duration) starting from today.
Expiration date
Just as it is recommended to change your password regularly, a PAT expiration date forces you to generate a new one at regular intervals.
Select all the scopes.
Scope
The purpose of limiting a PAT’s scopes is that, in case of an attack, the attacker will only be able to perform the actions allowed by those scopes, thereby reducing the risk of compromise.
Click on Create personal access token.
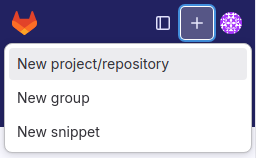
Creating a Remote Repo
Create your Remote Repository by clicking on the
+button at the top left.
Create an empty project with the same name as the one on your machine (
qualite-dev-s2-<first-name>-<last-name>).For the project URL, choose your short username under Users and keep the default proposed URL.
Select the “Private” visibility option for your project and uncheck the option “Initialize repository with a README”; we want a completely empty project.
README.md
Having a Markdown README in a project is standard practice. This file serves as the project description. We will return to this topic later.
Markdown is also what I use for this site!
Click on Create Project.
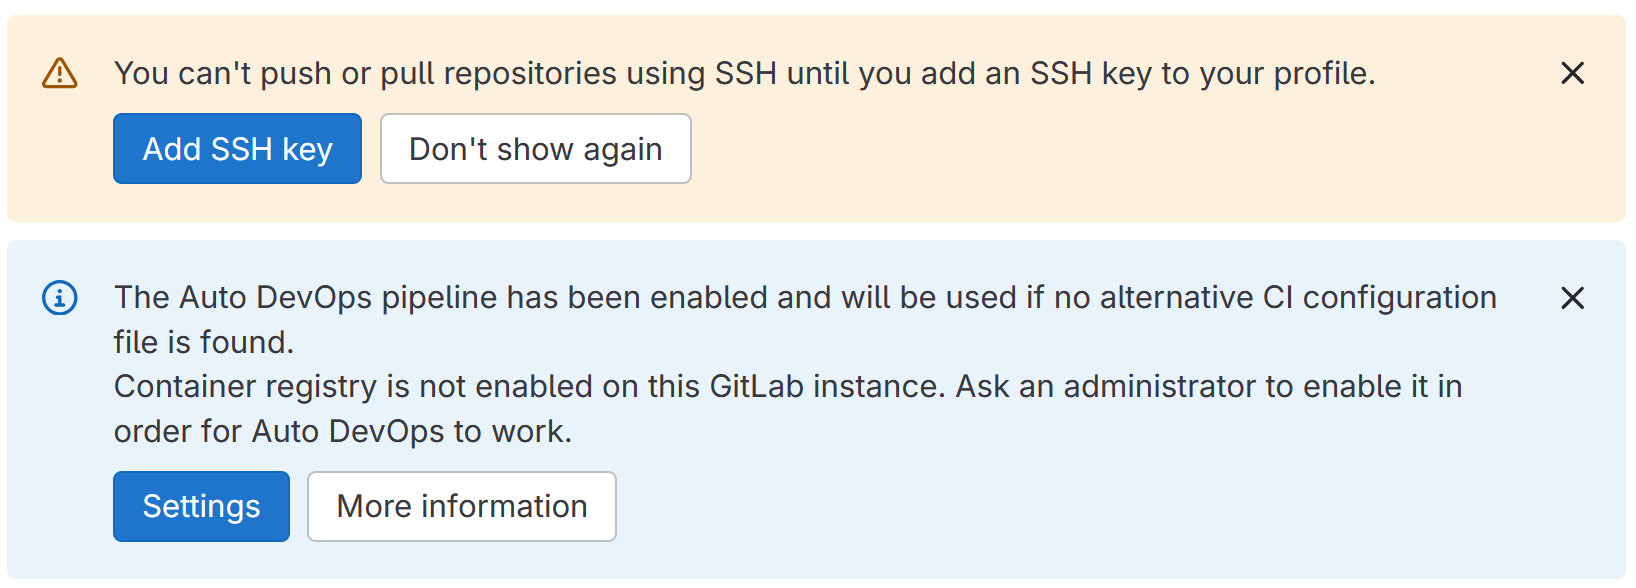
If you see the following messages, you can ignore them by clicking on Don’t show again for the SSH key and
Xfor Auto DevOps.
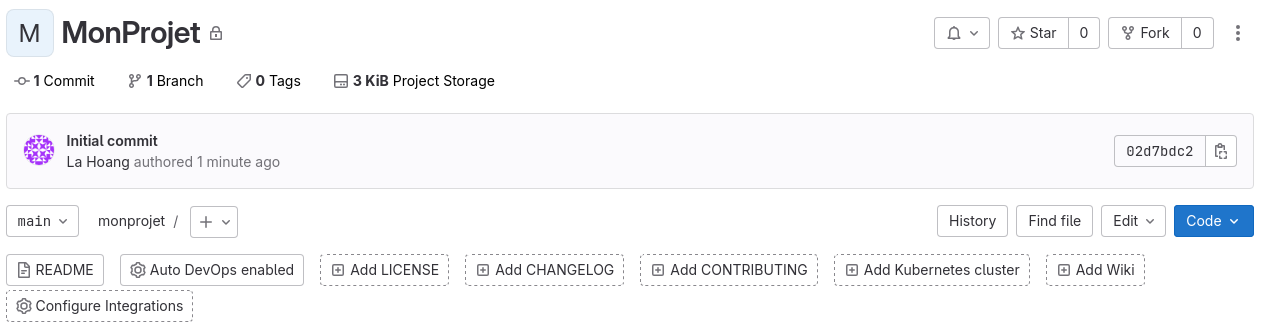
Verify that your project is empty (no README). If not, click on Settings > General > Advanced and then Delete in Delete project and restart.
Add a Remote Repo
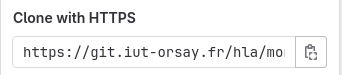
In your project, click on the Code button on the right.
Copy the URL under the Clone with HTTPS option.
Go to your local working directory already initialized with
git initand open a terminal.
Run the following command and observe.
git remote -vYou will notice that your local project does not yet have a Remote Repo.
Enter the following command, pasting the copied address and adding your username and your PAT in the appropriate places.
git remote add origin https://<your short username>:<Personal Access Token>@git.iut-orsay.fr/<project creator username>/<project name>.gitFor example:
git remote add origin https://hla:glpat-1234thisIsYourPAT5678@git.iut-orsay.fr/hla/qualite-dev-s2-hoang-la.gitRun
git remote -vagain and observe.
Your project now has a Remote Repo.
Fetch and Push
Run
git statusand observe.
Run
git fetchthengit statusand observe the difference.
git fetch
git fetchgit fetch updates the remote-tracking branch. Now, git status is able to compare the Local Repo and the Remote Repo.
Run
git pushto push all changes from the Local Repo to the Remote Repo.
git push --set-upstream origin main
git push --set-upstream origin mainThe first time you push, Git ask you to indicate which branch you want to push your Local Repo main branch to. Here, we just say that we want to push the main branch of origin (the Remote Repo). We only need to do it once per branch and we can use git push and git pull in the future without specifying the branch.
To make this automatic in the future, you can also run the following command:
git config --global push.autoSetupRemote trueGo back to GitLab and verify that the Remote Repo has been updated.
Create a new subdirectory called
Lab2/under the root of your project.Create a new text file of your choice.
Add, commit and push this new modification.
Verify that the Remote Repo contains these new modifications.
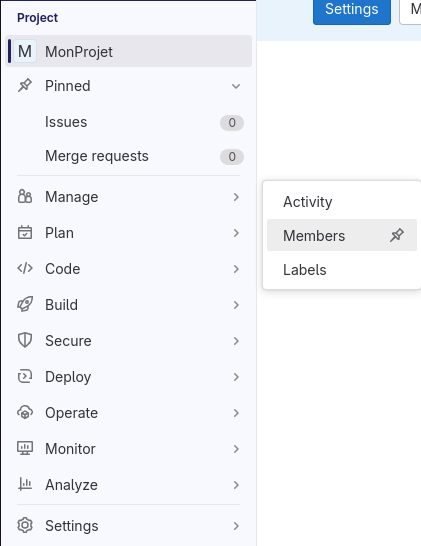
Add your instructor to your project by following the instructions below.
Click on Manage on the left, then select Members.
Click on Invite members at the top right.
Add your instructor with the Maintainer role, which gives them almost as many rights on the project as the Owner role.
Add an expiration date about 7 months after.
Clone
Imagine that you are working on another machine that does not yet have a copy of your project.
Move to a different directory that does not contain your Git repository
qualite-dev-s2-<first-name>-<last-name>.Download the Remote Repo with the following command.
git clone https://<your short username>:<Personal Access Token>@git.iut-orsay.fr/<project creator username>/<project name>.gitFor example:
git clone https://hla:glpat-1234thisIsYourNewPAT5678@git.iut-orsay.fr/hla/qualite-dev-s2-hoang-la.gitVerify that this new repository matches the Remote Repo, then you can delete it to avoid confusion in the future. It is just an illustration of the
git clonecommand.
Quiz!
Do not forget to complete the lab quiz on Moodle!